
A Homeowner's Guide to Navigating the Roof Insurance Claim Process in Oklahoma
Living in Green Country, we’re no strangers to powerful storms. When hail the size of golf balls or fierce winds roll through, the first thought is often for your family’s safety. The second is usually about your home, and specifically, your roof. Discovering storm damage can be incredibly stressful, and the thought of navigating a complex insurance claim can feel just as daunting. Many homeowners worry about missing a critical step, dealing with adjusters, or falling prey to opportunistic storm chasers. But it doesn’t have to be overwhelming.
At A-Team Roofing, we believe that a clear process builds confidence. As a local company dedicated to serving our Tulsa-area neighbors, we’ve helped countless homeowners through this exact situation. This guide will walk you through the roof insurance claim process step-by-step, empowering you with the knowledge to get your home restored correctly and with minimal stress.
Step 1: Immediate Actions After the Storm
Once the storm has passed and it's safe to go outside, your first instincts are crucial. Acting quickly and methodically can make a significant difference in the outcome of your claim.
- Prioritize Safety: Before anything else, ensure the area around your home is safe. Look for downed power lines, broken glass, or unstable tree limbs. Do not climb on your roof, especially if it’s wet or you suspect severe damage.
- Document Everything: This is one of the most important steps. Using your smartphone, take extensive photos and videos of the damage from the ground. Capture images of hailstones (with an object for scale, like a coin), dented gutters and downspouts, damaged siding or window screens, and any visible impacts on your shingles. The more evidence you have, the stronger your claim will be.
- Prevent Further Damage: If you have an active leak, take steps to mitigate further harm inside your home. This might involve placing buckets to catch water or, if necessary, calling a professional for an emergency tarping service. Most insurance policies require you to take reasonable steps to prevent additional damage. Keep receipts for any temporary roof repairs you have to make.
Step 2: Making the Right Calls – Your Roofer and Your Insurer
After documenting the damage, you’ll need to contact two key parties. The order in which you do so can streamline the entire process.
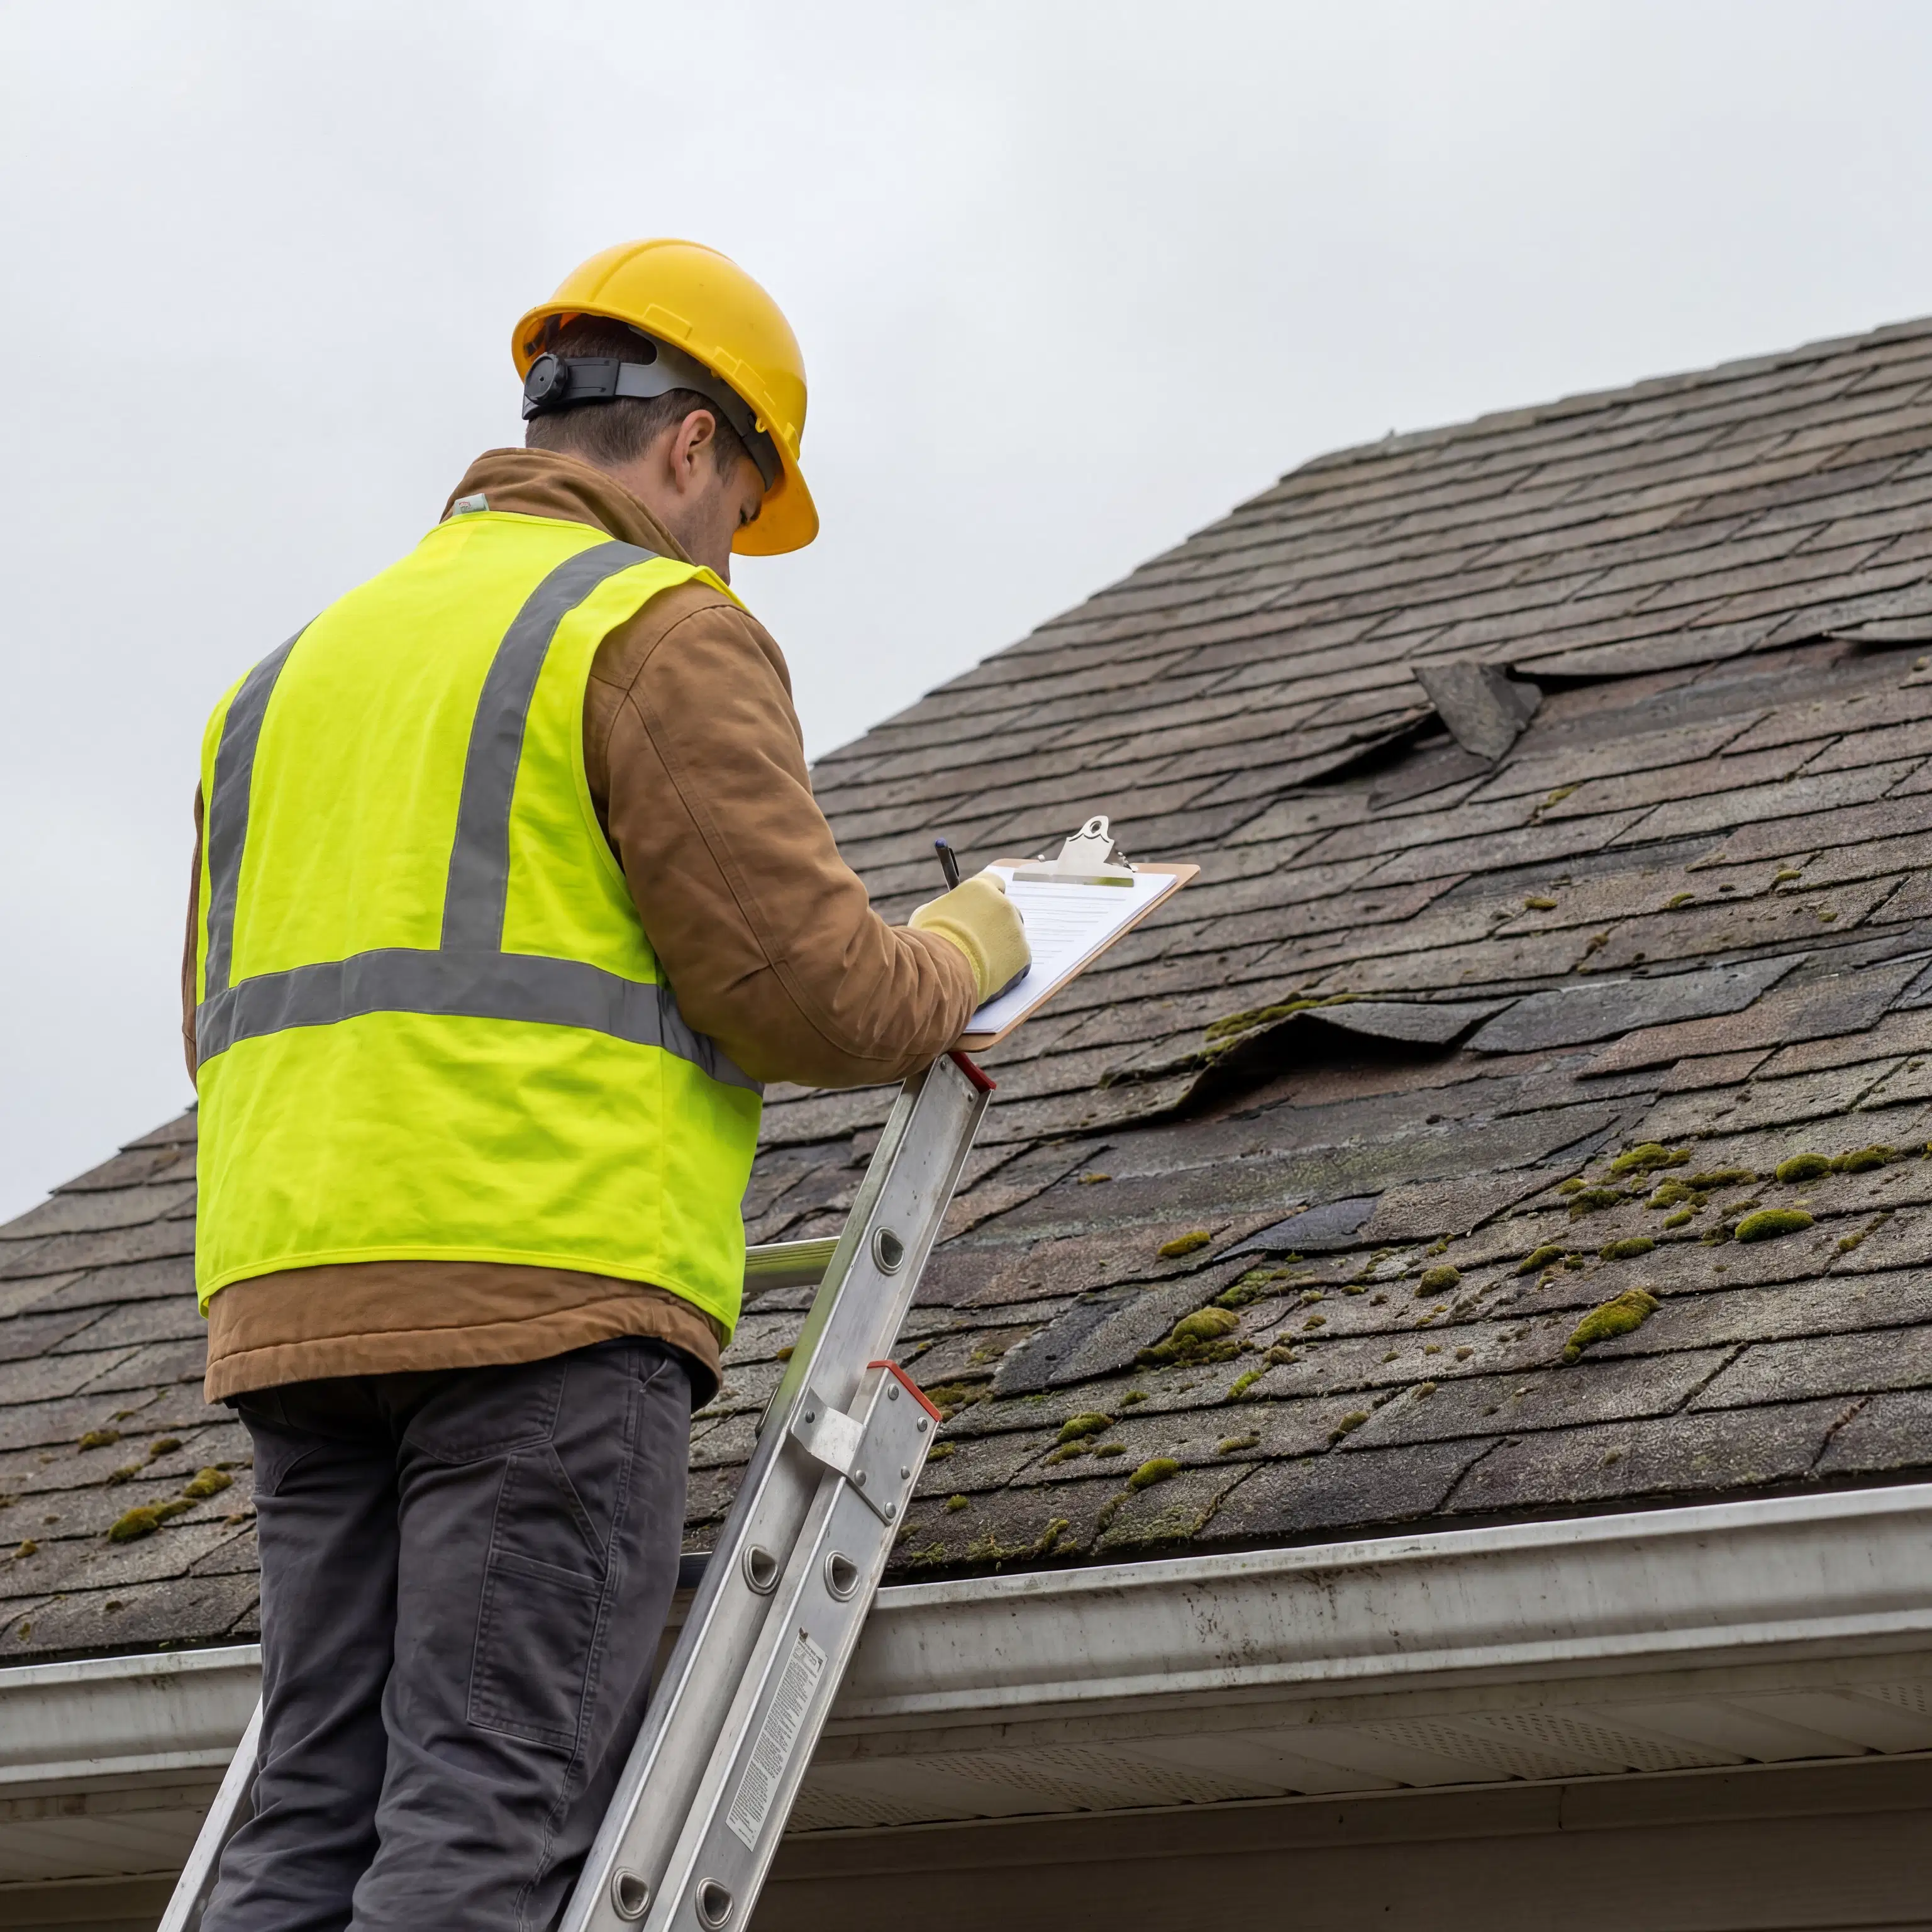
Your First Call Should Be to a Trusted Local Roofer. Before filing your claim, have a reputable, local roofing contractor perform a thorough inspection. Why is this so important? A professional roofer acts as your advocate. We can identify all points of damage—not just on the roof but on vents, flashing, and gutters—that an untrained eye might miss. This provides you with a comprehensive, expert assessment to use as a baseline for your insurance claim. It also helps you avoid the pitfalls of out-of-state storm chasers who may not be around to stand by their work later.
Filing Your Claim and Meeting the Adjuster. Once you have your roofer’s report, contact your insurance company to file a claim. They will assign an adjuster to inspect the property. We strongly recommend that you have your roofer present for the adjuster’s meeting. Having your trusted expert on-site ensures that all damage is pointed out and properly assessed. We can speak the same technical language as the adjuster, answer specific questions about materials and installation, and help ensure the scope of work is accurate from the very beginning.
Step 3: Understanding the Insurance Paperwork
This is where many homeowners feel lost. The estimate and summary from your insurance company will contain a lot of industry-specific terms. Here are the most important ones to know:
- Deductible: The amount you are responsible for paying out-of-pocket before your insurance coverage begins. This amount is fixed and will be deducted from your total claim payout.
- RCV (Replacement Cost Value): This is the total cost to replace your roof with new, similar-quality materials at today’s prices, without deducting for age or wear.
- Depreciation: The amount subtracted from the RCV to account for the age and condition of your old roof. Think of it like the depreciation of a car’s value over time.
- ACV (Actual Cash Value): This is the RCV minus depreciation (RCV - Depreciation = ACV). Your first insurance check will typically be for the ACV amount, less your deductible.
Your roofer will review the adjuster’s summary to ensure it aligns with their findings. If there are discrepancies, we will work with your insurance company to submit supplements for any necessary items that were missed. Your financial responsibility is typically your deductible for an RCV policy, while an ACV policy may require you to cover both the deductible and the depreciated amount. For a deeper dive, check out our guide to RCV vs. ACV policies.

Step 4: Completing the Work and Finalizing the Claim
Once the scope of work is approved by your insurance company, it’s time to restore your home’s first line of defense.
- Scheduling Your Roof Replacement: Your roofing contractor will work with you to schedule the roof replacement. They will handle ordering materials, arranging the crew, and ensuring the project is completed according to industry best practices and local building codes.
- The Payment Process: After you receive the first check (the ACV payment), you’ll typically endorse it to your roofer to get the project started. Once the work is complete, your roofer will send a final invoice to the insurance company. The insurer will then release the remaining funds (the depreciation amount). You’ll use this second check to make the final payment to your contractor.
- Final Walkthrough and Warranty: Upon completion, do a final walkthrough with your project manager to ensure you are completely satisfied. You should receive a certificate of completion and, most importantly, copies of your material and workmanship warranties. At A-Team Roofing, we provide a 5-year workmanship warranty to give you lasting peace of mind.
Your Partner in Storm Recovery
Dealing with storm damage is never easy, but you don’t have to go through it alone. By following these steps—documenting damage, calling a trusted local roofer first, and having them advocate for you during the claims process—you can turn a stressful situation into a smooth and successful restoration project.
If your home has been affected by a recent storm in the Tulsa area, don't hesitate. Contact A-Team Roofing today for a free, no-obligation hail damage inspection. We’re here to provide the expert guidance and quality craftsmanship you need for all your roof replacements and repair needs. Let us help you protect your home. Get in touch with us today!